acme.sh安装和使用
acme.sh 实现了 acme 协议, 可以从 letsencrypt 生成免费的证书,用于加密http协议,升级为https,让网站更安全,acme.sh非常省心,会自动添加cron任务,在证书快要过期时自动申请新的证书。
安装
根据github官方教程,使用命令安装 acme.sh, 用你的邮箱代替 my@example.com即可。如果网络不佳,可以使用官方的三种方法安装 acme.sh
curl https://get.acme.sh | sh -s email=my@example.com根据官方文档,执行以上命令之后,会发生下面的几件事
The installer will perform 3 actions:
1. Create and copy
acme.shto your home dir ($HOME):~/.acme.sh/. All certs will be placed in this folder too.2. Create alias for:
acme.sh=~/.acme.sh/acme.sh.3. Create daily cron job to check and renew the certs if needed.
在你的~ 目录下面创建一个 .acme.sh的文件夹
把 acme.sh 添加一个孪生命令,用起来就像添加到环境变量一样
创建一个cron 定时任务 用于刷新证书 (可用 crontab -e 查看)
测试acme能否使用
在命令行输入 acme.sh看能否使用,如果提示命令无法找到的话应该是环境没有生效,这里重载一下就好
source ~/.bashrc创建一个nginx虚拟服务器
有网址了还需要一个http服务,这里使用nginx,配置文件如下
server {
        listen 80;
        server_name proxy.caliburnonline.work;
        location / {
                root /var/www/ZDDwebsite
                index index.html;
        }

		#这个目录是为了acme会验证文件的一个路径。注意这个root可以映射到其他的目录里面,等下会产生文件。
        location /.well-known/acme-challenge/ {
                root /var/www/ssl;
                log_not_found off;
        }
}
需要注意的就是/.well-known/acme-challenge/这个路径是必须要的,等下acme需要访问这个路径来验证你的域名和主机的所有权,还有一点就是nginx默认的配置80端口是打开的,手动吧 /etc/nignx/nginx.conf 里面的server注释掉即可。
申请证书
接下来就是申请证书了,可以获得证书公私钥,这两个东西是必不可少的材料。
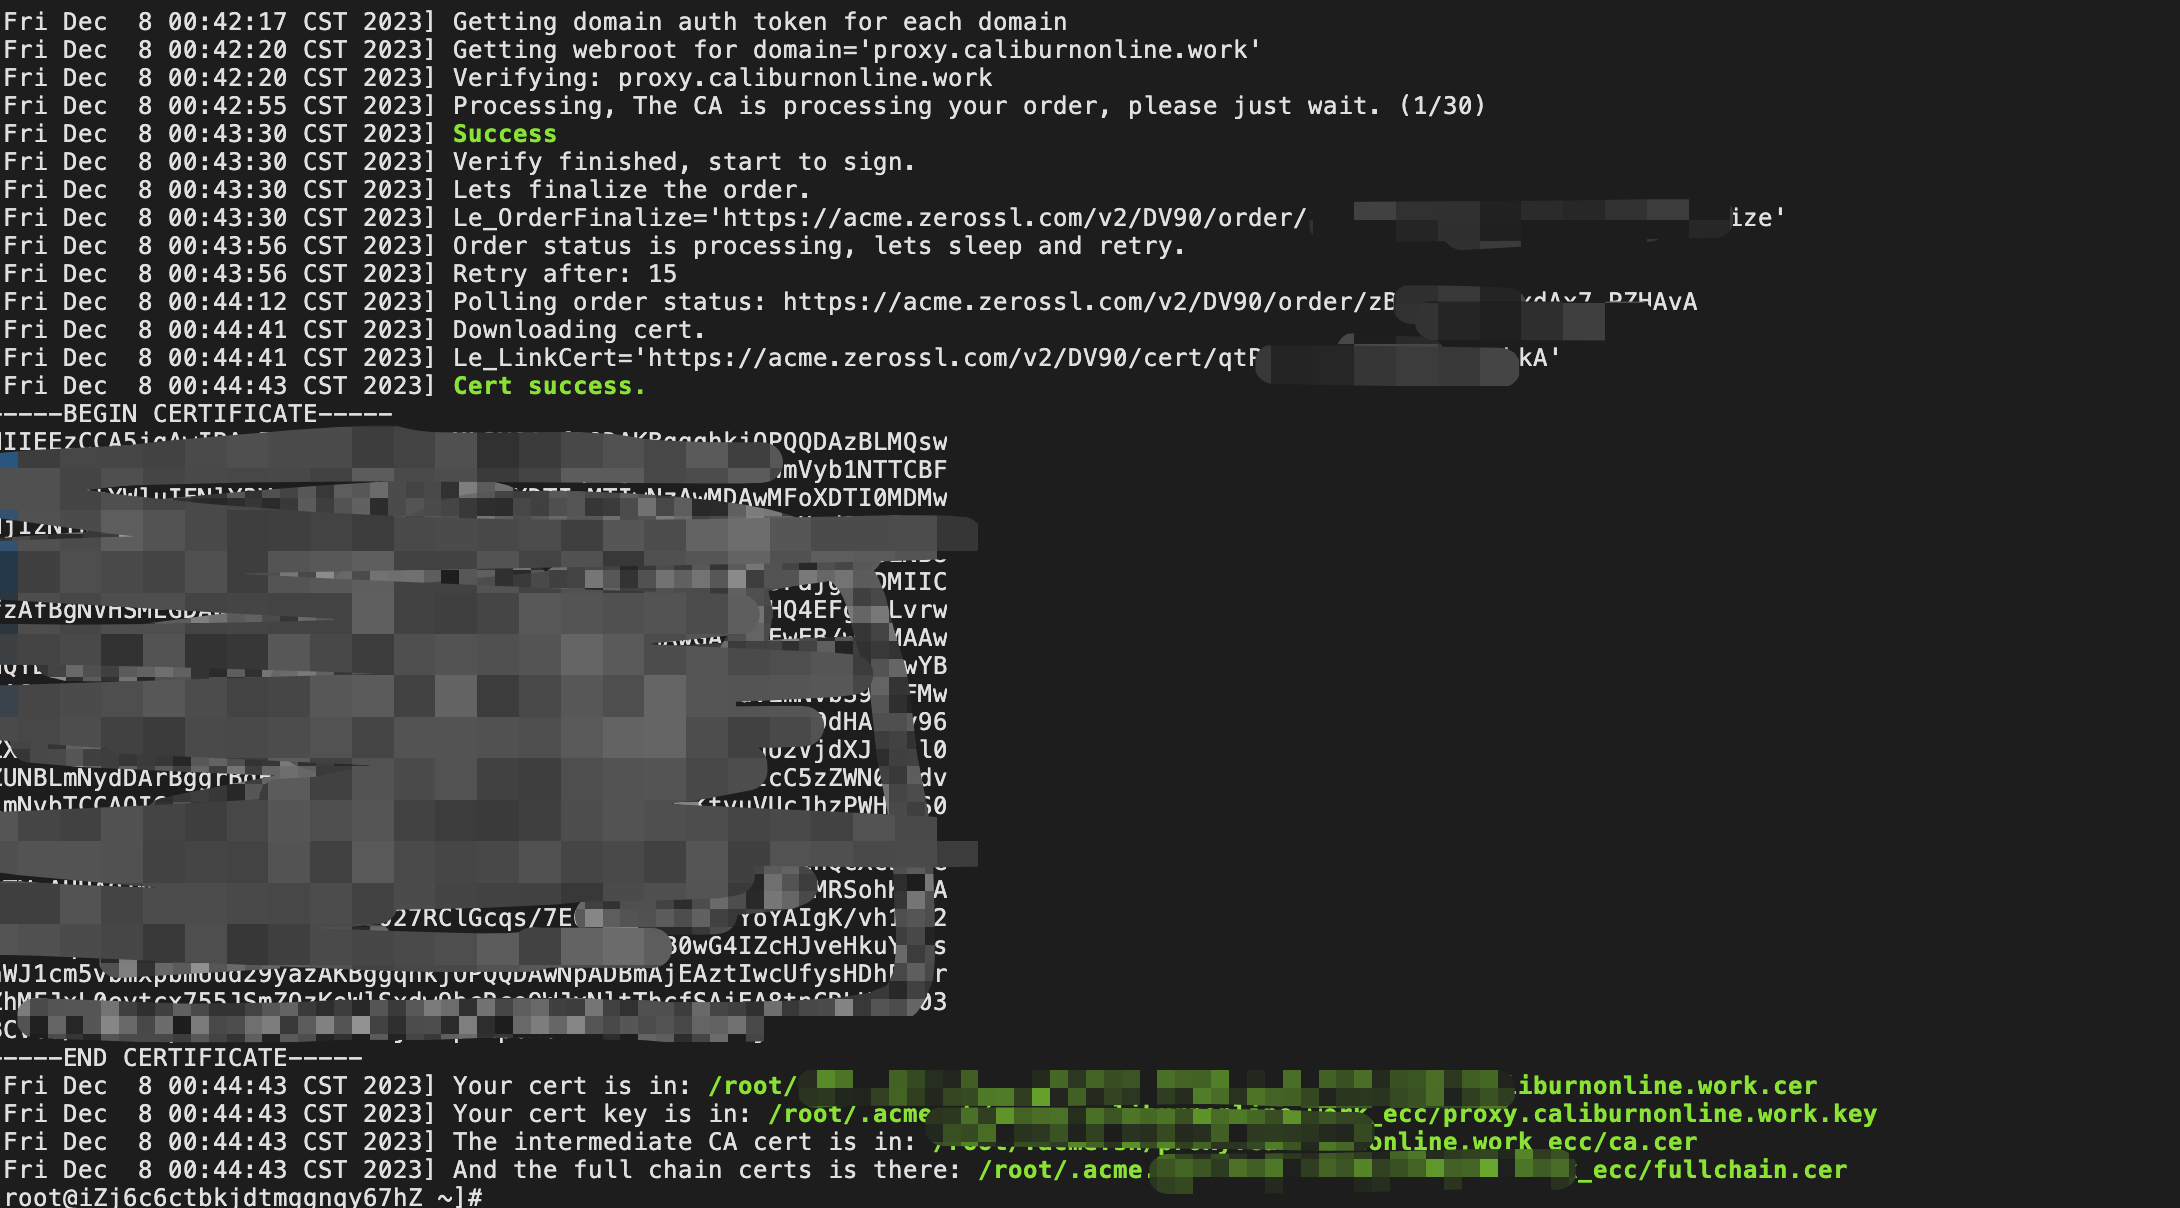
acme.sh --issue -d proxy.caliburnonline.work -w /var/www/ssl这里要注意你的 -w 参数后面跟的 路径一定是 上一步的那个路径,在我的例子中是 /var/www/ssl 这个目录,整个命令的执行可能会持续很长的时间,完整之后的样子如下图
 准确的来说,拿着这些文件我们就可以在nginx上做映射了,但是他有一个更新的机制在里面,所一我们还需要安装一下
安装证书
根据官方提示,“生成证书之后,你可能回去安装/复制证书文件到你的 apache/nginx 服务器,你 必须 用命令去复制, 不要 直接使用~/.acme.sh/ 下面的证书文件,这些文件是供程序内部使用的,文件结构将来可能会发生变化” 然后官方提供了两条示例。这里我们以nginx为例。
After the cert is generated, you probably want to install/copy the cert to your Apache/Nginx or other servers. You MUST use this command to copy the certs to the target files, DO NOT use the certs files in ~/.acme.sh/ folder, they are for internal use only, the folder structure may change in the future.
Apache example:
acme.sh --install-cert -d example.com \
--cert-file      /path/to/certfile/in/apache/cert.pem  \
--key-file       /path/to/keyfile/in/apache/key.pem  \
--fullchain-file /path/to/fullchain/certfile/apache/fullchain.pem \
--reloadcmd     "service apache2 force-reload"
Nginx example:
acme.sh --install-cert -d example.com \
--key-file       /path/to/keyfile/in/nginx/key.pem  \
--fullchain-file /path/to/fullchain/nginx/cert.pem \
--reloadcmd     "service nginx force-reload"
acme.sh --install-cert -d proxy.caliburnonline.work \
--key-file       /var/www/ssl/key.pem  \
--fullchain-file /var/www/ssl/cert.pem
注意这里 的两个路径 直接改成之前的/var/www/ssl 即可,这样他就会把证书相关的密钥放在这个目录下面
 可以看到在/var/www/ssl下面已经生成了两个文件,这个时候我们回头去修改一下nginx配置就可以了
修改Nginx配置
修改nginx配置,让80端口的http跳转到443的https,并启用证书,下面就是配置文件
#这个是80端口的HTTP服务
server {
listen 80;
listen [::]:80;
server_name proxy.caliburnonline.work;
return 301 https://$host$request_uri;
}
#这个是443端口的https服务
server {
listen 443 ssl;
listen [::]:443 ssl;
#ssl协议相关
ssl_protocols TLSv1.1 TLSv1.2;
#下面这两项就填刚刚的路径
ssl_certificate /var/www/ssl/cert.pem;
ssl_certificate_key /var/www/ssl/key.pem;
server_name proxy.caliburnonlien.work;
location / {
root /var/www/ZDDwebsite;
index index.html;
}
#这里是我的v2ray伪装路径,如果知识搭网站的话,删掉就好
location /home/oscar {
proxy_redirect off;
proxy_pass http://127.0.0.1:27772;
proxy_http_version 1.1;
proxy_set_header Upgrade $http_upgrade;
proxy_set_header Connection "upgrade";
proxy_set_header Host $host;
# Show real IP in v2ray access.log
proxy_set_header X-Real-IP $remote_addr;
proxy_set_header X-Forwarded-For $proxy_add_x_forwarded_for;
}
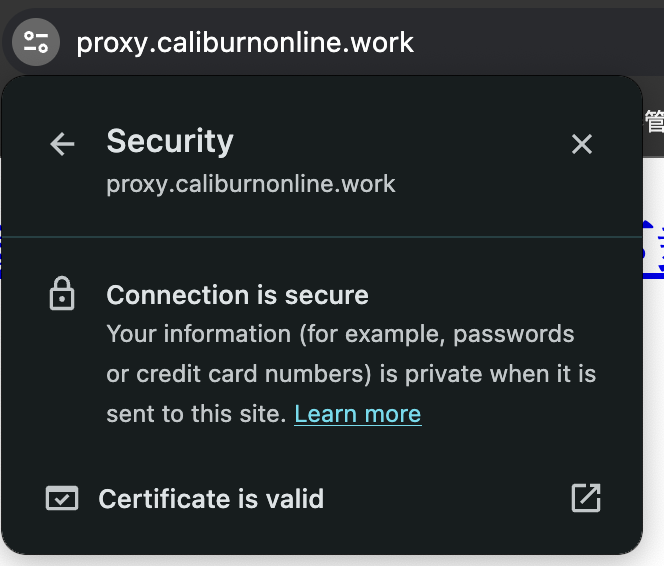
}验证
最后重启一下nginx服务,验证一下网站是否加密